Digital Photo Mosaic Wall
Turn Every Guest Photo Into One Live Mosaic
Have you ever imagined experiencing all your wonderful moments at once? Just picture entering a room and seeing a gorgeous image that sums up all the moments one has ever lived and more. How about something like this—the charm of a digital photo mosaic wall?
See it live
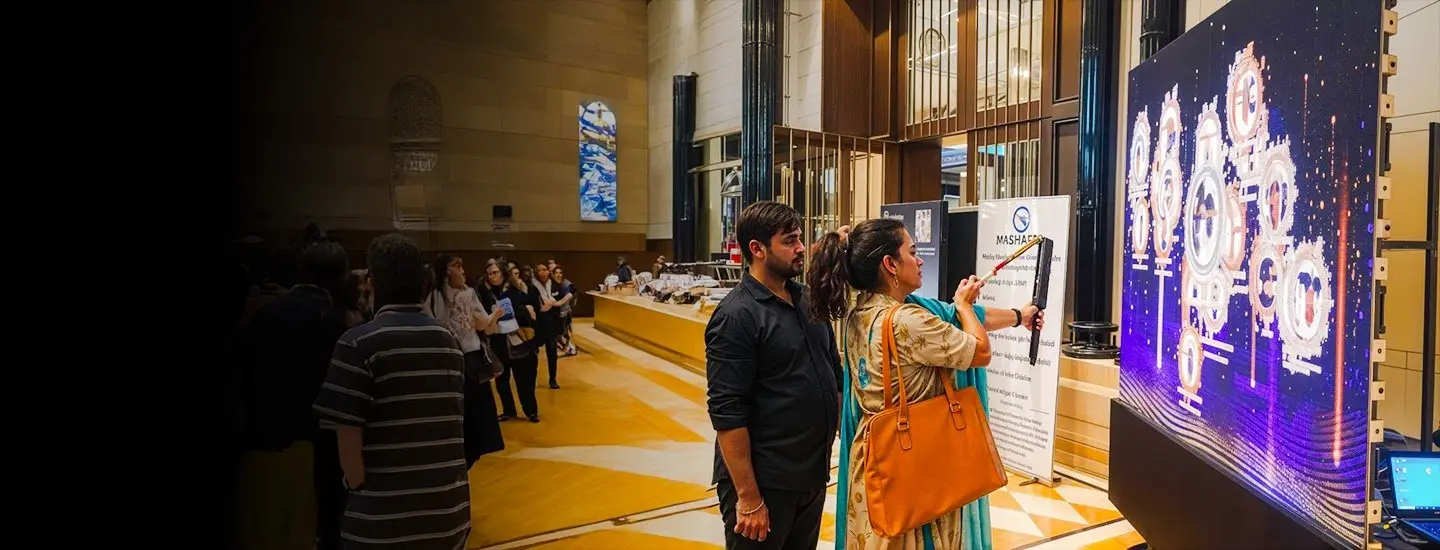
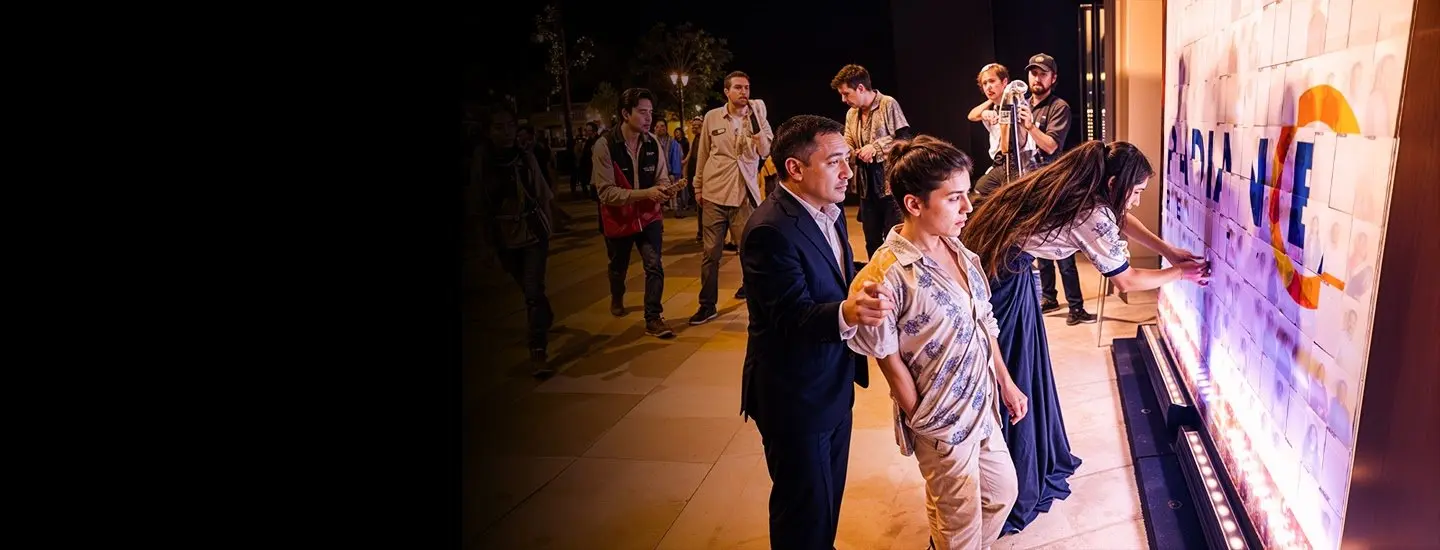
The Digital Photo Mosaic Wall in action
Through the era of innumerable selfies and freely uploading them, we tend to forget the actual purpose of photos. But wouldn’t it be great if you could change your ordinary photo album into a piece of art that tells stories about all the crucial stages of your life? The future represented by a digital photo mosaic wall explains how this is possible by merging thousands of single shots into a broad canvas that depicts one’s narrative.
Level 01
Understanding Digital Photo Mosaics
What is a digital photo mosaic ?
A digital photo mosaic is a digital artwork with aesthetic and stylistic nuances, which consists of multiple smaller pictures that come together to form a bigger picture. This technique follows specialized programming allowing for automatic analysis of photos by different colors or shapes resulting in a collage of up to hundreds, thousands, or millions of tiny photos.
Software and app integration
The essence of using AR photo booths is made real by the software and the possibility to integrate an application. The fundamentals are represented by more developed SDKs, which provide the tools to create and manage the virtual objects required by augmented reality.
Integrated applications handle user experiences, photo-taking, and augmented reality applications. The captured moment can be shared or stored on the cloud instantly and social media APIs prepare for immediate use.
Level 02
How Photo Mosaics Enhance Memory Preservation
Photo mosaics enhance the conservation of memories through
Captures key life events comprehensively. Greatly increasing the likelihood of recollecting certain events and narrating events from the past.
Introducing a new concept of praise and congratulations on various occasions. Adds a unique touch to celebrations.
Offers a dynamic, ever-present memory display. Photo mosaics transform individual images into a cohesive work of art, ensuring cherished moments never fade.
Designing your mosaic layout
Having collected any number of photos for your project now is the best time to get into the process of designing your mosaic layout. This is considered to be one of the most important steps because it will eventually determine the overall look and feel of your digital photo mosaic wall.
After gathering your photos, it's time to design your mosaic layout. This crucial step will ultimately define the overall look and feel of your digital photo mosaic wall.
Selecting a base image or pattern
Every mosaic requires a base, typically a centered image or picture. You can use either a photo or an image as the base, or opt for a well-resolved abstract pattern.
Determining mosaic size and dimensions
At this stage, we’re focused on determining the measurements of your artwork. Key factors influencing its dimensions include: Display location Count of photos available The degree of detail required
Adjusting tile size and arrangement
Visualize various tile sizes and arrangements until you get the desired look: Consistent tiles for a timeless appearance. Diverse tile sizes to create depth. Personalized forms for mosaics with a theme.
Balancing colour distribution
To achieve success with mosaic photo editing: Use color mapping to fit pictures with the portions of the main image. Change the brightness and color of separate photographs.
Use color filters to unify everything. With the design parameters set, let’s proceed to develop the digital photo mosaic wall, enhancing its beauty.
Once done, let’s pause and focus on improving the bottom image of your mosaic wall for an even better result.
Level 03
Learning About Your Digital Photo Mosaic
Now the most interesting part is to present the beautiful photo mosaic you just made. Thus, we shall try to look for the best ways to display the picture and it’s best suited in the house.
Considerations in the selection of the display hardware for the digital photo mosaic
To realize the conception of your digital photo mosaic, the appropriate display hardware selection has to be done. Here are some tips: Increasing the versatility of the digital photo mosaic using a wall When affixing the digital photo mosaic, consider the following factors: The wall’s weight-bearing ability The viewer’s angle and height Concealed cabling for aesthetics All around the equipment areas that need frequent service.
Are these tips on ambiance and lighting helpful for a digital photo mosaic?
These are some of the lighting pointers that can complement the digital photo mosaic display: Avoid bright lighting by using indirect lights and tubes Use dimmable lights to suit different times of day Insert LED strips at the back of the display to create an effect Use light temperature similar to the exhibits to highlight fixtures
Integrating with smart home systems
Connecting your display to your smart home will elevate it to a new level. To switch between photos or playlists, use voice commands.
Create automated power scheduling. For a seamless experience, sync your mosaic with other smart devices.
Final level
Questions, answered
Everything event planners usually ask about the Digital Photo Mosaic Wall. Still curious? Our team is a message away.
It's literally a digital photo mosaic wall, which means it's an interactive display of individual photos compiled into one large mosaic. As each guest submits his or her photos, they become one tile out of many in a more extensive image, displayed on a digital screen or printed in real-time.
Digital Photo Mosaic Wall: Turning Memories Into Masterpieces
A digital photo mosaic wall artistically showcases your treasured moments by combining different photographs into a cohesive image. The software you use, how you organize everything, and how you embellish the mosaic are key steps.
Keep exploring